
Getting Started - Travel Dock
Use this guide to set up your Travel Dock and charge your Pods.
What’s in the Core Kit
- 1 Travel Dock
- 1 Pair of Pods (sensors)
- 1 pair of insoles
Before You Begin
1. Create Your Plantiga Account
-
You must create a Plantiga account from the invite email that was sent to you.
If you did not receive the invite:
- Check your spam or junk folder
- If you still don't see it, email support@plantiga.com for assistance
2. Confirm Computer Requirements
- You need a Mac with an Apple M-series chip (M1 or newer).
- Supported devices include MacBook Pro, MacBook Air, iMac, and Mac Mini
-
Intel-based Macs are not supported for Travel Dock setup
To check your Mac:
- Click the Apple icon (top left of your screen)
- Select About This Mac and confirm it lists an M-series chip
- If you do not have a compatible Mac, you will only be able to use the Home Dock
Step-by-Step Setup
Step 1: Install Plantiga Connect
- Log into your account at plantiga.io
- Click Settings in the left navigation bar
- Scroll to the bottom and find Download Plantiga Connect
- Click Download for macOS
- Open the installer and drag Plantiga Connect into your Applications folder
- Open the app and log in using the same credentials as plantiga.io
Step 2: Connect the Travel Dock
-
Plug the Travel Dock into your Mac using the provided cable
NOTE
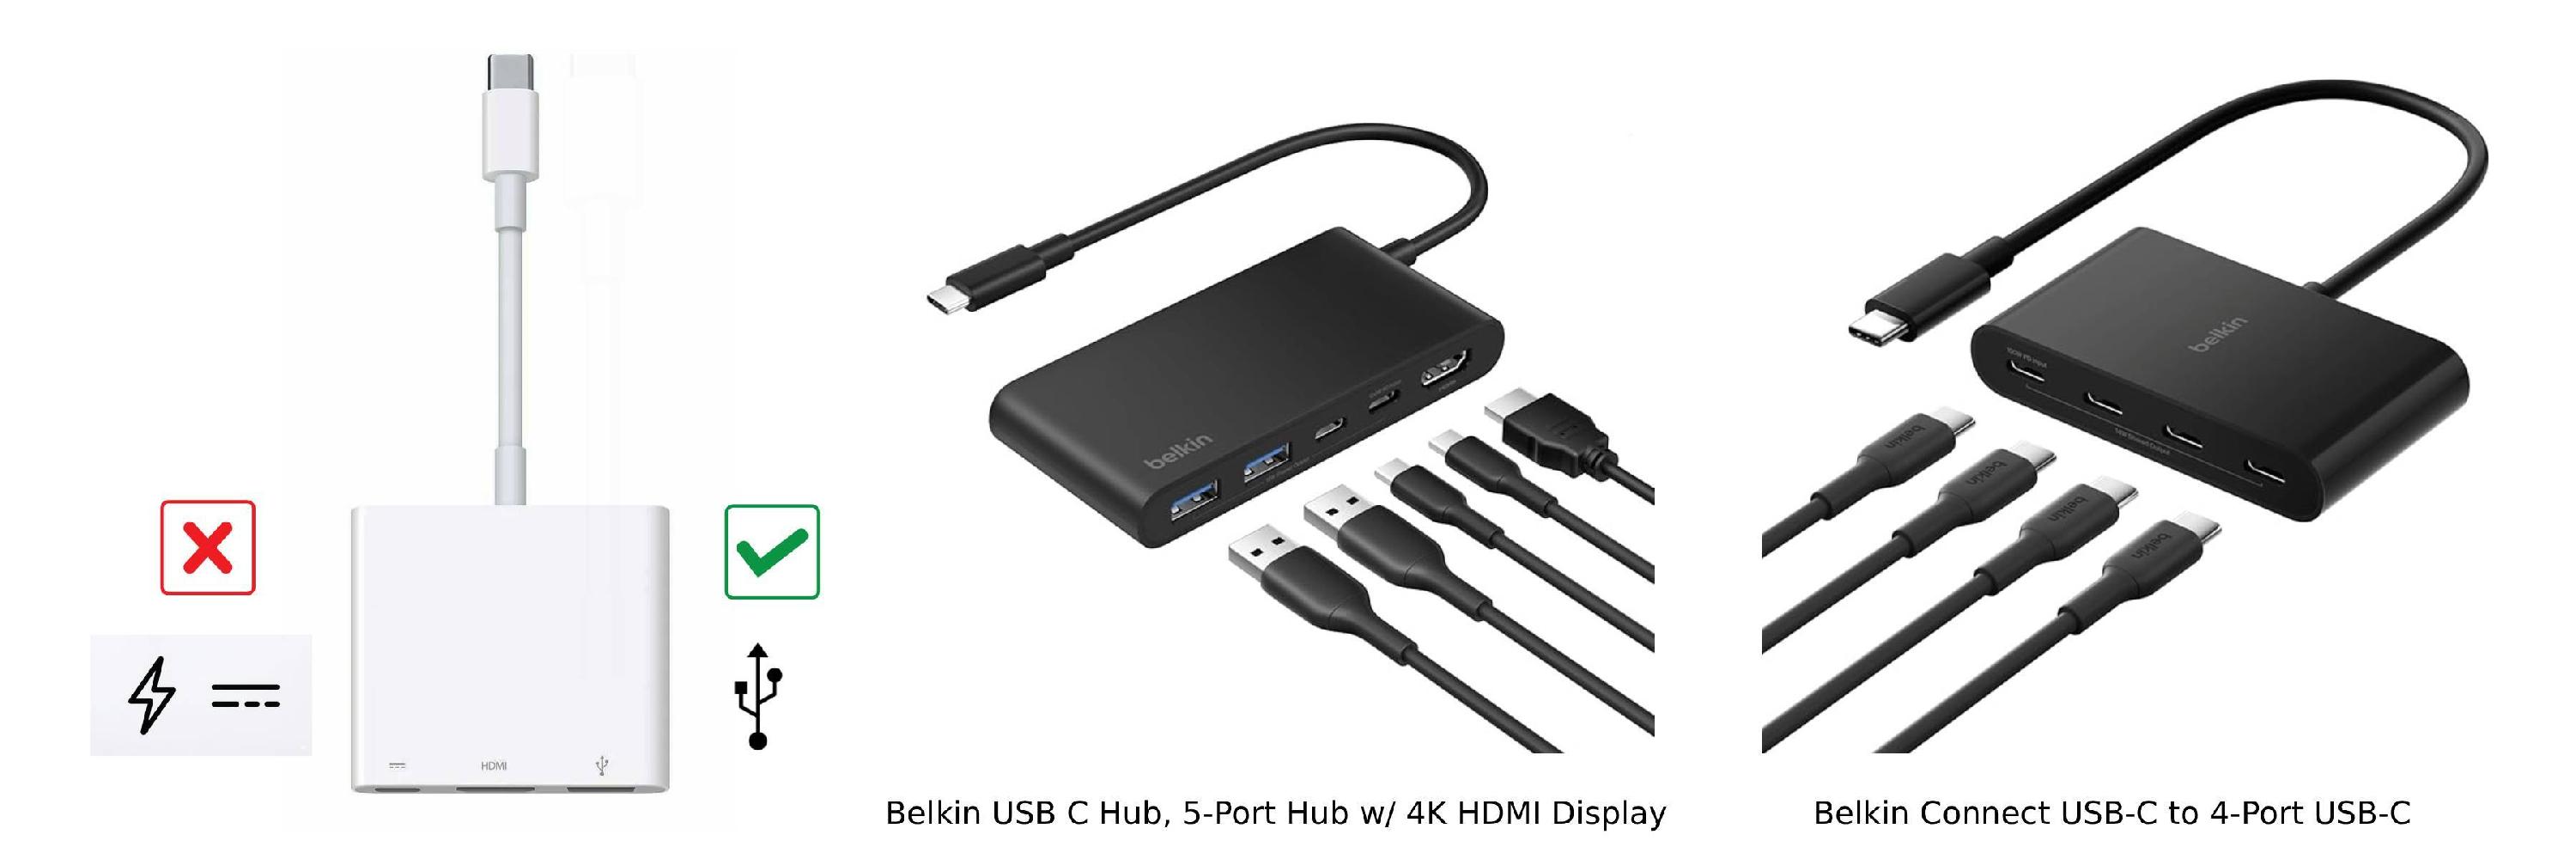
The travel dock must be connected to your Mac with a USB cable that supports data transfer, not just charging. Some USB extensions and adapters only pass power and won’t carry data. Check for the USB data symbol on the cable or adapter. The lightning bolt or DC power symbols only mean power, not data.
- Open the Plantiga Connect app
- Confirm the dock appears in the app
- Look for a green light in the center of the dock — this indicates a successful connection

Important
- The Plantiga Connect app must be running, and your laptop must be connected to the internet for:
- Pods to charge
- Data to upload to the cloud
- To keep the app running automatically:
- Click the three dots in the top-right corner of Plantiga Connect.
- Enable Start on login.
Dock light indicators
- Green: Connected and working properly
- Red: Plantiga Connect is not running — open the app to resolve
Step 3: Insert and Charge the Pods
- Take the Pods and slide them into the Travel Dock
- Make sure the black side of each Pod is facing up
- Confirm the Pods appear in the Plantiga Connect app
Pod light indicators
- Solid white: Charging
- Blinking white: Uploading data
- Green: Fully charged and ready (up to 8 hours of data collection)
- Red: Error detected
If you see a red light:
- Remove the Pods from the dock
- Reinsert them a few times to reset the connection
- Email support@plantiga.com for assistance
Setup Complete
Your Travel Dock is fully set up when:
- The dock light is green
- Both Pods show green lights
If you see any red lights, resolve the issue before attempting to collect data. Please email support@plantiga.com if you need any help.
NEXT STEP → Set up your Home Dock (if you have one) → Data Collection Basics